How-to guide
How to embroider your dog's name under the portrait
To embroider your dog's name, back stitch it with 2 strands of floss, using short stitches on every curve so the letters stay round. Pick a simple print or single-line script, decide where the name goes before your pattern goes on the fabric, and keep it at least half an inch inside the hoop.
The best stitch for letters
Stitches for hand-embroidered lettering
| Stitch | How it looks | Best for | Watch out for |
|---|---|---|---|
| Back stitch | A crisp pen line | Print and script, small names, beginners | Curves need shorter stitches |
| Stem stitch | A smooth, slightly twisted line | Flowing script | Come up on the same side every time |
| Split stitch | A fine, smooth line | Small script | Each stitch must split the last one cleanly |
| Whipped back stitch | A smooth, slightly raised cord | Script that should look like one unbroken line | A second pass, wrapped over the back stitch without catching the fabric |
| Satin stitch | Bold, filled letters | Big block letters only | Hard to keep small letters crisp |
For a name under a dog portrait, use back stitch. It's the same stitch as the dog's outline, so the name and the portrait read as one drawing. Back stitch vs stem stitch explains when the others are worth it.
How small can letters be?
Every curve in a letter needs a few stitches to look round. With 2 strands and stitches about 1/8 inch long, that works out to letters roughly half an inch tall or more. Go smaller and the curves of an a, an e or an s turn into corners.
- 2 strands for a name that matches the portrait. It's the everyday choice.
- 1 strand, with shorter stitches, for very small letters, or a date under the name.
- 3 strands only for a bold name on a bigger hoop, where the letters have room.
More on strand counts in how many strands to use.
Where the name goes in a 6-inch hoop
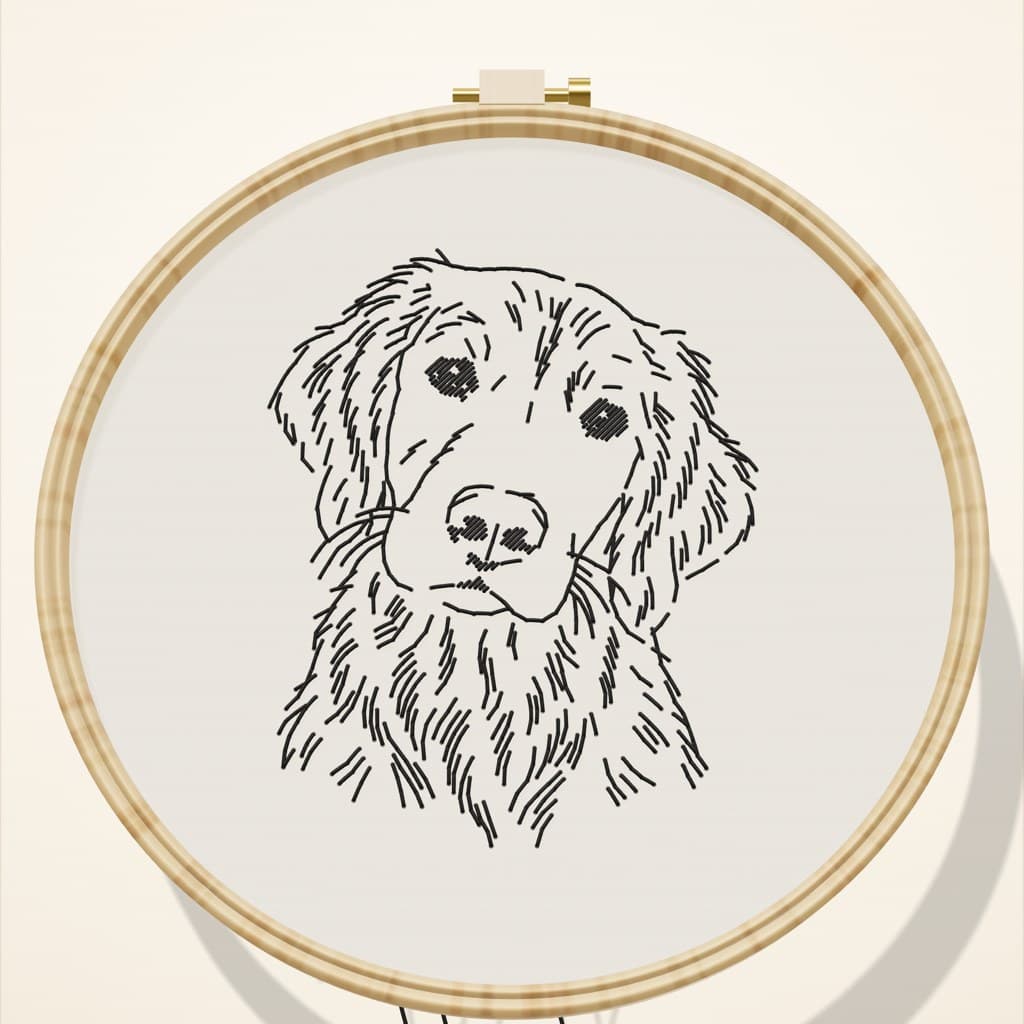
A dog portrait sized for a 6-inch hoop is about 4.7 inches tall, so there isn't much room underneath. Plan the name before the pattern goes on the fabric. Usually that means placing the portrait a little higher than center, so the name fits below the chin with half an inch to spare inside the ring.
- Straight under the chin. The classic. Best for short names.
- Curved along the bottom of the hoop. The name follows the ring, which gives a long name more room.
- A name and a date. Lovely for a memorial or a birthday. The date goes smaller, under the name.
Making it a gift? Personalized dog gifts has more ideas for the words, from a nickname to the day they came home. A name can be a gift on its own, too: embroidery gift ideas includes a name hoop with a little flower wreath. On a 3-inch dog ornament the face fills the hoop, so the name and the year usually go on the felt back instead.
To center a name, find its middle (the middle letter, or the gap between the two middle letters) and line it up with the up-and-down fold through the center of your linen.
How to stitch the name, step by step
- Choose a simple lettering style. A plain print, or a single-line script where each letter is one stroke. Fancy fonts with thick and thin strokes don't translate to thread, which is one thickness.
- Size it and mark the stitches. Print or draw the name at the size you'll stitch. Put a dot about every 1/8 inch along each letter, a little closer together on the curves.
- Put it on with the pattern. Print the name on the soft side of a stick and stitch sheet, on the same sheet as your portrait or a small separate piece, and place it where you planned.
- Stitch the portrait first. Do the dog, then the name, and rinse both together at the end, so the sheet only goes in the water once.
- Back stitch each letter. Stab straight down and straight up, landing exactly on each dot. Slow down on the curves, where the stitches are shortest.
- End off between letters. In print, each letter is its own island of stitches. Tie off on the back when one is done, then begin the next with a new start. Never carry black thread across bare linen to the next letter: it shows through. Joined script only needs tying off at the end of each word.
- Dot the i last. For the dot over an i or a j, make one very short straight stitch, or a small French knot if you want it rounder.
Practice the curves first
Letters are back stitch on a smaller scale, and the curves are where they go wrong. Try the back stitch lesson on the 3D hoop, and watch how the needle lands in the same hole each time. Then flip the hoop to see how short the stitches on the back should be.
Free · 3D Stitch Simulator
Try back stitch on a 3D hoop
Watch the first stitches, then tap where your needle goes. Turn the hoop, zoom in, and flip it over to check the back.
The Name Maker in the course
Drawing letters with even dots is fiddly, so the Stitch Your Dog course includes a bonus Name Maker. You type your dog's name, pick a style and one of three layouts, and download a name sheet with every stitch marked, sized to sit under your own portrait in a 6-inch hoop. It also tells you where to place the portrait so the name fits.
Lettering problems, and the fixes
- The letters look jagged.
- The stitches on the curves are too long. Make them shorter wherever the line bends.
- The name drifts uphill.
- Print the name with its baseline straight, and line it up with the fold before you stick it on.
- The spacing looks uneven.
- Judge the gaps by eye, not with a ruler. Round letters like o and e need to sit a little closer than straight ones like l and i.
- Grey lines between the letters.
- Thread was carried across the back. Snip it, weave both ends in, and end off between letters from now on.
- The name crowds the ring.
- It was placed too low. For this piece, curve it along the bottom; next time, plan the name before the pattern goes on.
Questions people ask
What stitch is best for lettering?
Back stitch for most names, with shorter stitches on the curves. Stem or whipped back stitch give flowing script a smoother line, and satin stitch suits only big, bold block letters.
How small can embroidered letters be?
With 2 strands and stitches about 1/8 inch long, letters roughly half an inch tall or more stay round. For smaller letters, use 1 strand and shorter stitches.
How do you fill in embroidery letters?
With satin stitch, laid across the narrow width of each stroke and kept just inside the outline. It suits big block letters; small names look crisper in back stitch.
How many strands of embroidery floss for letters?
Two strands for a name that matches a portrait. One strand for very small letters or a date, and three only for bold letters on a bigger hoop.
Where should the name go on a pet portrait?
Under the chin, straight or curved along the bottom of the hoop. Plan it before the pattern goes on, and keep it at least half an inch inside the ring.
Sources: Royal School of Needlework Stitch Bank: Back stitch · Royal School of Needlework Stitch Bank: Whipped back stitch · Royal School of Needlework Stitch Bank: Stem stitch · Needle 'n Thread: Starting and traveling threads