
How-to guide
How to embroider a dog's nose in satin stitch
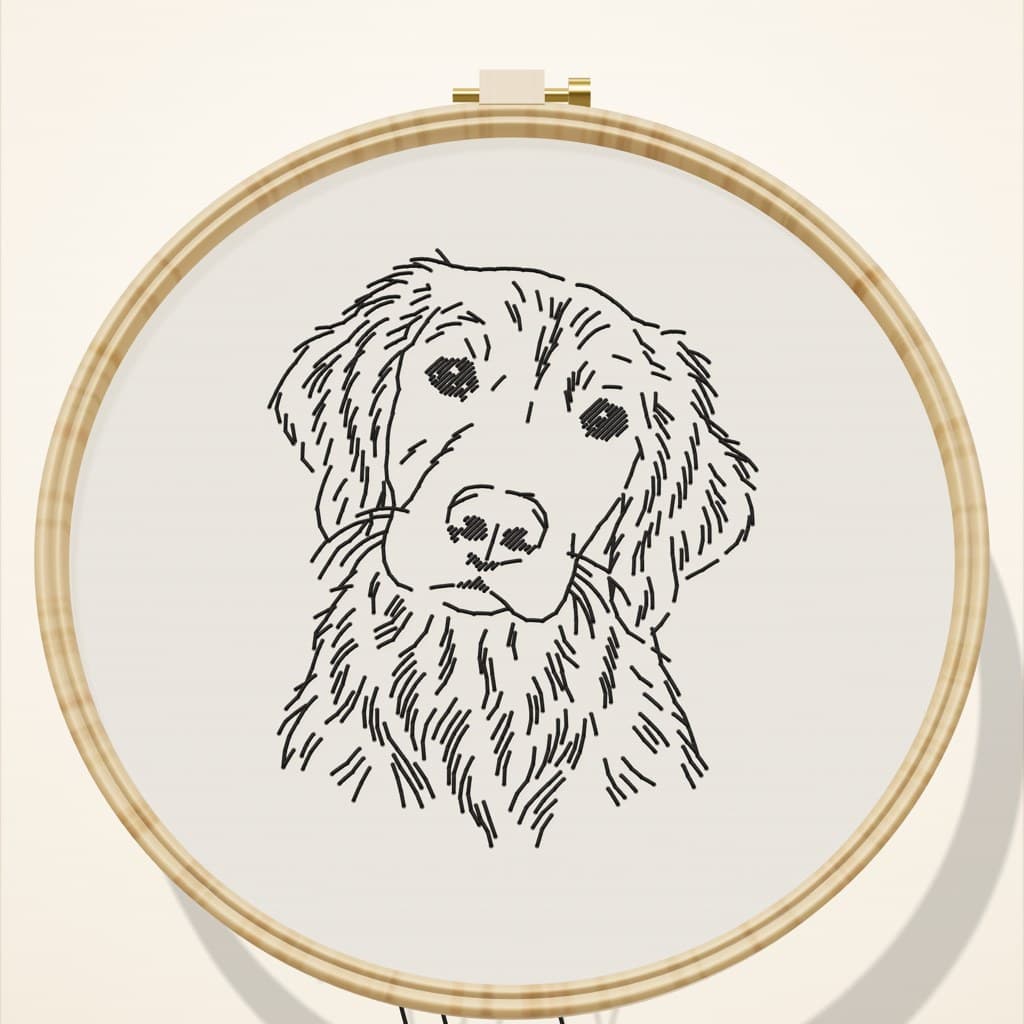
To embroider a dog's nose, fill the nose shape with satin stitch in 2 strands of black floss. Start in the middle and work out to each side, keep the stitches parallel and touching, and leave the small bare spots bare: they're the shine that makes the nose look wet. Come up just inside the outline.
Read the nose on your pattern
On a line-art pattern the nose is usually one solid shape, with small gaps inside. The solid part gets satin stitch. The gaps are the highlights on the nostrils, the shine that makes a dog's nose look wet. The outline of the muzzle around it is back stitch.
If your pattern draws the nose as lines only, with no shaded shape, it's stitched in back stitch along with the outline, and there's nothing to fill.
How to embroider a dog's nose, step by step
- Thread up fresh. About 12 inches of black floss, 2 strands. Fresh thread gives the smoothest satin, and a short length doesn't wear out.
- Choose the direction. Stitch across the narrow way of the shape. Most dog noses are wider than they are tall, so the stitches run up and down and each one stays short.
- Start in the middle. Come up just inside the outline at the center of the nose, and go down just inside the opposite edge.
- Fill out to one side. Lay each stitch beside the last, parallel and touching, to the end of the shape.
- Work around the shine. Stop each stitch at the edge of a bare spot. Fill along one side of it, then the other, so no thread crosses behind it.
- Fill the other half. Travel back to the middle under the stitches on the back, then fill toward the other side.
- Tie off under the fill. Slide the needle under 4 or 5 stitches on the back and trim close.
Practice satin on a 3D hoop first
Satin stitch is easier to learn on a practice shape than on your dog's nose. The simulator's satin lesson fills a small shape from the middle out. Turn the hoop to see the stitches up close, then flip it to see how tidy the back should be.
Free · 3D Stitch Simulator
Try satin stitch on a 3D hoop
Watch the first stitches, then tap where your needle goes. Turn the hoop, zoom in, and flip it over to check the back.
Common nose problems
- The nose looks lumpy.
- The stitches are too long or crossing each other. Stitch across the narrow way and keep every stitch parallel.
- The edge looks ragged.
- Come up and go down a hair inside the line every time, not on it. For a crisper edge, outline the shape first with tiny split stitches.
- Linen shows between stitches.
- Lay each stitch right against the last. If a gap remains, add one stitch in the gap rather than a second layer on top.
- The shine got covered.
- Unpick the stitches over the bare spot from the back. The shine is what makes the nose read as a nose.
- Satin pulls the fabric in.
- Re-tighten the hoop and let each stitch lie flat. Satin pulled tight puckers the linen around it.
Nose shapes and colors
The nose shape is part of the likeness. A flat-faced breed like the French bulldog has a wide nose high on the face. A long-muzzled breed like the dachshund has a smaller nose at the tip. Stitch exactly to the edge your pattern gives you, and don't round it off.
Not every dog has a black nose. In black thread you have two honest choices for a pink, liver or spotted nose: fill it anyway, which reads fine at hoop size, or back stitch only the outline and the nostrils and leave the rest as bare linen, which suggests a lighter nose. Look at your photo and pick whichever looks more like your dog.
Questions people ask
What stitch do you use for a dog's nose?
Satin stitch for the solid shape, in 2 strands of black floss, with back stitch for the outline of the muzzle around it.
How do you show the nostrils?
Leave them as small bare spots inside the satin, the way your pattern shows them. Fill along one side of each spot, then the other, so no thread runs behind it.
How do you embroider a nose for beginners?
Practice satin stitch on a small shape first. Then fill the nose from the middle out, with short, parallel stitches running the narrow way across it.
Sources: Royal School of Needlework Stitch Bank: Satin stitch · Needle 'n Thread: 10 tips for a sensational satin stitch · Needle 'n Thread: Some notes on satin stitch