
How-to guide
How to shade in embroidery with one color of thread
To shade with one color of thread, change how much fabric the stitches cover. Lines stitched close together read dark and lines spaced apart read light. Build darker areas with hatching or cross-hatching, scatter seed stitches for soft tones, use 1 strand for light areas and 2 for dark, and leave bare fabric as the lightest tone.
How one color makes light and dark
Shading in one color works like a pen-and-ink drawing. From a little distance, the eye mixes the black thread with the linen around it. The more of the linen the thread covers, the darker that spot looks. So you never need a second color: you need more or fewer stitches.
- Spacing. Lines close together read dark. Spread them out and the same lines read light.
- Strands. One strand draws a lighter line than two, even at the same spacing.
- Layers. A second layer of lines across the first makes the deepest tones.
- Direction. Strokes that curve with the shape make it look round, not flat.
- Bare linen. No stitches at all is your lightest tone, and the one most people forget to use.
Five ways to shade with one color
One-color shading techniques, lightest effect to darkest
| Technique | How you stitch it | How it reads | Good for |
|---|---|---|---|
| Stippling with seed stitch | Tiny straight stitches, about 1 to 2 mm, scattered in different directions | Soft and speckled: denser looks darker | Freckles, a soft cheek, a light shadow under the dog |
| Line spacing | Parallel lines, closer together where it's darker | A smooth change from light to dark | A shadow under the chin |
| Hatching | A patch of short parallel straight stitches or back stitches | An even middle tone | The inside of an ear, a darker patch of coat |
| Cross-hatching | A second layer of hatching laid across the first at an angle | The deepest tone | Small, very dark spots. Use it sparingly: it gets heavy fast |
| Strand count | The same stitch in 1 strand where it's light and 2 where it's dark | A lighter or darker line | Background details, things farther away |
You can mix them. A dark patch might be hatching in 2 strands that fades into hatching in 1 strand, then into a few scattered seeds, then into bare linen.
How to shade an area, step by step
- Find the light. Look at your photo and decide where the light comes from. The shadows sit on the opposite side: under the ears, under the chin, on the far cheek.
- Squint for three tones. Squint until the photo blurs into light, middle and dark. Only shade the dark areas, and maybe the middle ones. Light stays bare.
- Draw the shading into your pattern. Before you print or trace, add the hatching lines or the edge of each shaded patch to your drawing, so the guides end up on the fabric with everything else.
- Start light. Begin with 1 strand and wide spacing. It's easy to add stitches and fiddly to take them out.
- Follow the form. Curve the strokes around the cheek, down the chest and along the ear, the same way the fur grows. Straight strokes on a round shape make it look flat.
- Build up slowly. Add lines between the lines, then switch to 2 strands, then add a cross-hatch layer only where it's darkest. Prop the hoop up and squint between each layer.
- Keep the back clean. Shading is lots of short stitches close together. Travel under the stitches you've made, and never carry black thread across bare linen: on the back it shows through as shading you didn't mean.
Free · 3D Stitch Simulator
Try straight stitch on a 3D hoop
Watch the first stitches, then tap where your needle goes. Turn the hoop, zoom in, and flip it over to check the back.
Every hatch line and every seed is a straight stitch. Try a few on the 3D hoop, then flip it: each one should be short on the back too.
Where shading helps a dog portrait
- Under the ears, where they meet the head, so they sit in front of it.
- Under the chin and the jaw, so the head lifts off the chest.
- Inside the ear, a little hatching to show it's hollow.
- A darker marking, like a saddle or a mask, in light hatching instead of a fill.
- A soft shadow under the dog, a few rows of seeds, so the portrait doesn't float.
Where it doesn't help: around the eyes, on a smooth muzzle, and anywhere the outline already does the job. Shading near the eyes muddies the expression.
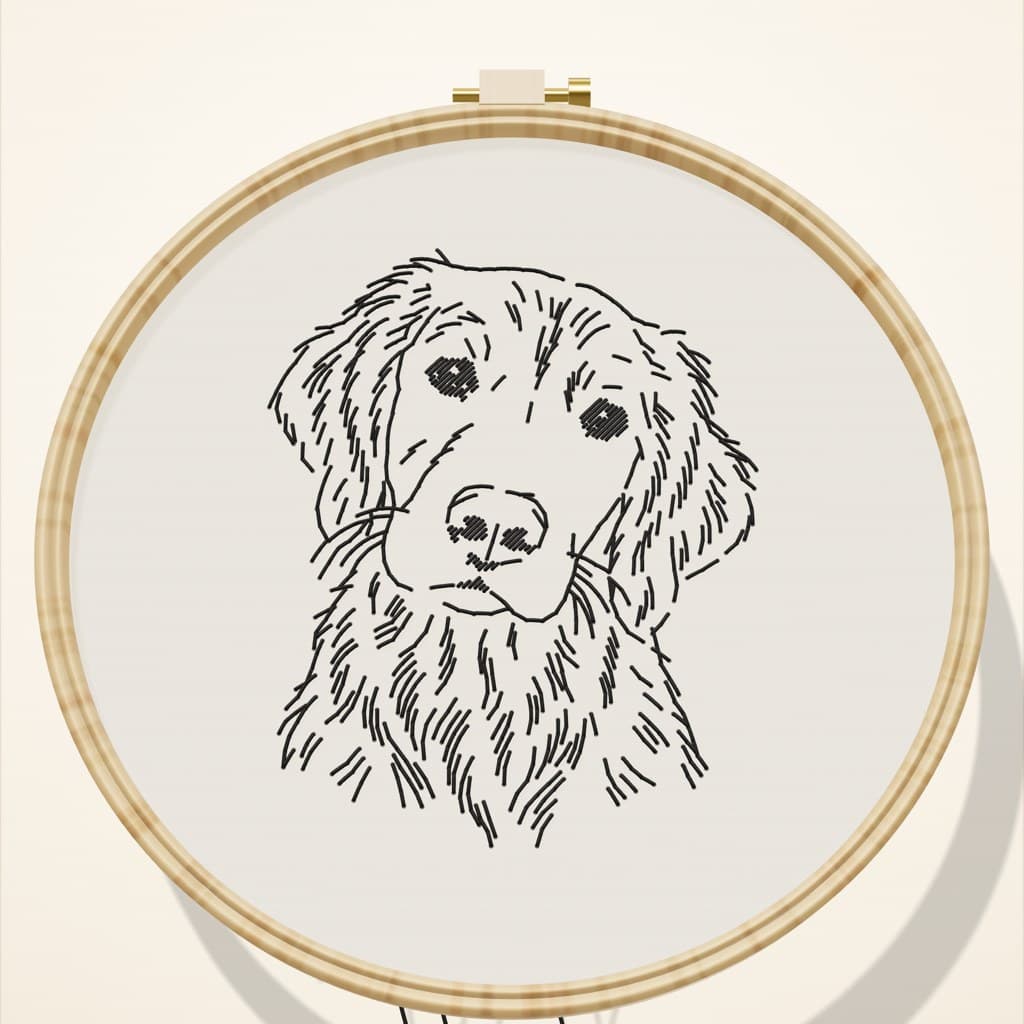
To be clear about our own course: the Stitch Your Dog portrait is clean line art, an outline, the face, fur lines and small satin fills, with no shading. Your first portrait doesn't need any. Fur lines placed close together already read a little darker, which is shading of a kind. Treat everything on this page as a next step, once your back stitches come out even.
Shading that doesn't look right
- It looks like stripes.
- The lines all end at the same point. Vary their lengths so the edge of the shading is ragged, not ruled.
- It looks muddy and heavy.
- Too many layers, or 2 strands too soon. Unpick the top layer and go lighter. Bare linen between lines keeps it airy.
- A hard line between light and dark.
- Widen the spacing gradually as you move toward the light, and finish with a few loose seeds.
- The linen puckers in the dark patches.
- Lots of short stitches can draw the fabric in. Keep the hoop drum-tight and let every stitch lie flat.
Questions people ask
Can you shade with only black thread?
Yes. Change how much of the fabric the thread covers: lines close together read dark, lines far apart read light, and bare fabric is your lightest tone.
How do you show light and dark with one color?
With spacing, layers and strands. Space lines closer, add a cross-hatch layer, or switch from 1 strand to 2 to go darker. Leave fabric bare for the lightest areas.
How do you shade in embroidery?
With several shades of thread, long and short stitch blends them. With one color, use hatching, cross-hatching and seed stitch, and control the tone with spacing.
What stitch is best for shading with one color?
Seed stitch for soft, speckled tones, and hatching in straight or back stitch for smoother ones. Both are tiny, simple stitches.
Is shading hard for beginners?
The stitches are easy. Judging when to stop takes practice, so start light, build slowly and squint at it from across the room between layers.
Sources: Royal School of Needlework Stitch Bank: Seeding stitch · Royal School of Needlework Stitch Bank: Straight stitch · Needle 'n Thread: Starting and traveling threads