
How-to guide
How to get smooth satin stitch (no bumps, gaps or slant)
Smooth satin stitch comes from four habits. Start in the middle of the shape so the angle stays true, lay each stitch right beside the last without overlapping, keep the strands flat and untwisted, and come up and go down just inside the outline. Keep shapes small, because long satin stitches loosen and ridge.
What goes wrong, and why
Smooth satin is a set of straight stitches, parallel and touching, with no linen between them, edges that follow the line, and a surface that catches the light evenly. When it isn't, the cause is almost always one of these.
Satin stitch problems and their usual causes
| Problem | Usually caused by | Fix |
|---|---|---|
| Ridges or bumps across the fill | Stitches overlapping or stacking, twisted strands, or stitches long enough to sag | Lay stitches side by side, untwist often, split big shapes |
| Linen showing between stitches | Stitches spaced apart, or strands twisted into a thin rope | Bring each stitch up right against the last; flatten the strands |
| Stitches drifting to a slant | Starting at one end, so each stitch shifts a hair | Start in the middle, or set guide stitches |
| A ragged edge | Coming up at slightly different distances from the line | Come up and go down just inside the line, every time |
| A small circle that bulges | Stitches taken right to the line or past it | Stop a hair inside the line |
| The fill pulls the fabric in | Stitches pulled snug against loose fabric | Drum-tight hoop, and lay the thread instead of pulling it |
| A dull, fuzzy fill | Worn thread | A fresh, short length for every fill |
A smooth fill, step by step
- Hoop it drum-tight. Satin pulls on the fabric in one direction. Loose linen gives under it, and the fill ripples.
- Thread a fresh, short length. About 12 inches is plenty for a small fill, and it stays smooth to the end. Separate the strands one at a time and lay them side by side.
- Set the angle in the middle. Make the first stitch across the widest part of the shape, usually across its narrow way, so every stitch stays short. Every other stitch copies this one.
- Work out to one edge. Come up on the same side every time, right beside the last stitch, and go down on the opposite side. Touching, never on top.
- Lay each stitch, don't pull it. As the thread goes down, stroke the strands flat with the side of the needle, and stop pulling the moment they lie on the surface.
- Return to the middle on the back. Slide the needle under the backs of the stitches to get back to the center, then fill the other half the same way.
- Check it under a lamp. Tilt the hoop so the light skims across the fill. Ridges and gaps show at once. Fill a gap with one more stitch in it, not a second layer over the top.
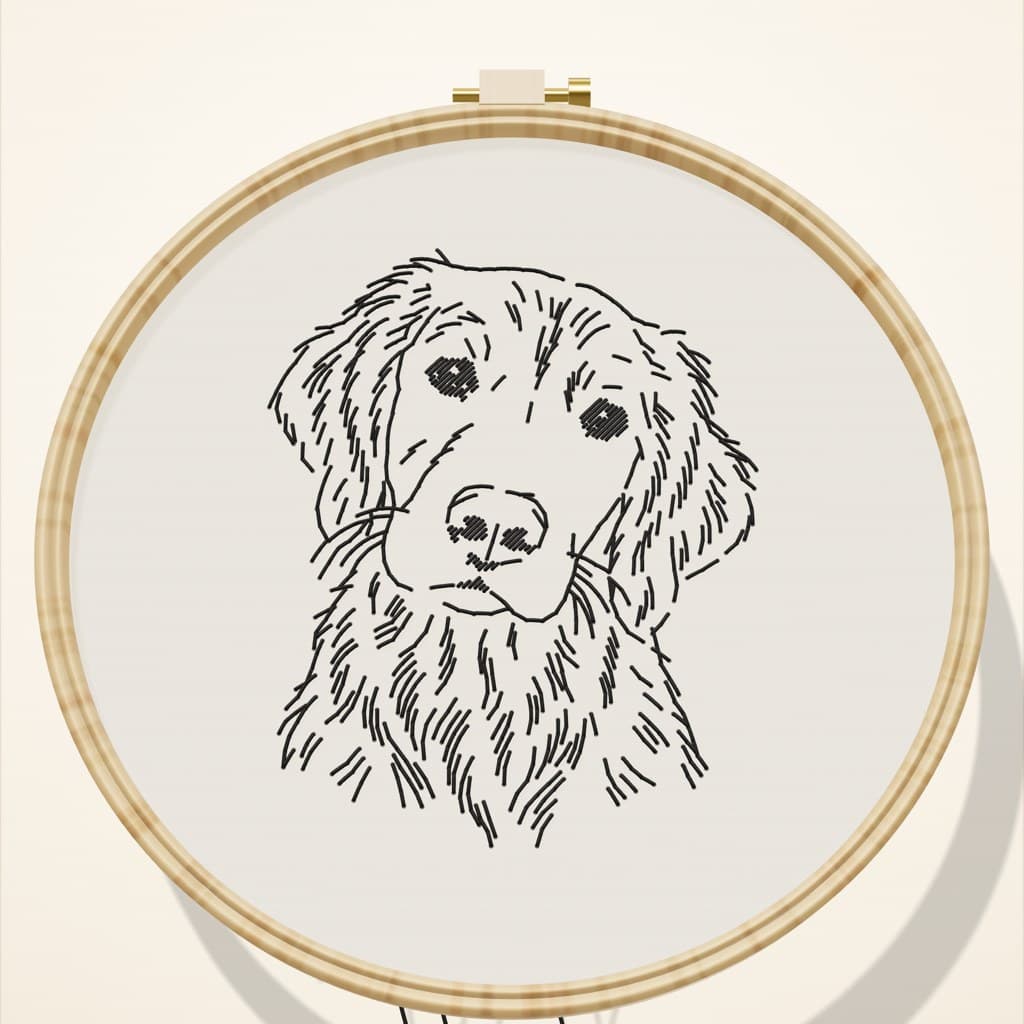
Free · 3D Stitch Simulator
Try satin stitch on a 3D hoop
Watch the first stitches, then tap where your needle goes. Turn the hoop, zoom in, and flip it over to check the back.
Watch the first stitches go in from the middle, then fill the rest yourself. Flip the hoop to see the back: it should look almost like the front.
It's mostly in the strands
Two strands side by side cover like a ribbon. The same two strands twisted together become a narrow rope, so the fill looks gappy and ridged even when your stitches are perfectly placed. Most bumpy satin is twisted satin.
- Let the needle dangle every few stitches so the twist spins out. More in why thread tangles.
- Lay the strands as each stitch goes down: run the needle under them on the surface, or use a laying tool, so they sit parallel.
- 1 strand or 2? Two strands fill a small eye or nose quickly and match the 2-strand outline; it's what our patterns use. One strand gives the smoothest, flattest finish and is Needle 'n Thread's preference for satin, but it takes many more stitches.
Keeping stitches straight, not diagonal
Drift happens when each stitch lands a hair off the last one. Over twenty stitches, a hair becomes a slant. Starting in the middle halves the distance any drift can travel.
- Guide stitches. Before you fill, place two or three stitches spread across the shape at the angle you want, then fill between them. They keep you honest.
- Fan on curves. Around a curved edge, open the angle very slightly from stitch to stitch so the fill follows the shape.
- Match the eyes. Run the stitches in both pupils the same way. A different angle in each eye catches the light differently and looks like a squint.
How big can satin stitch be?
Smaller than most beginners think. Needle 'n Thread suggests keeping plain, unpadded satin to about 3/8 to 1/2 inch across. Longer stitches loosen, catch on things, and ridge once the fabric comes out of the hoop.
In our three sample dog patterns, the largest fill is about half an inch at its longest, and stitched across its narrow way every stitch stays under that. For a bigger shape, split it with a line down the middle and fill each half, or switch to long and short stitch.
Padded satin stitch puts a layer of stitches under the satin, running the other way, which lifts and steadies a bigger fill. It's optional, and a good next step once small fills feel easy. Our patterns use plain satin for the eyes and nose, and that works well. If you try padding, save it for the nose: plain, flat satin makes the little bare highlight in an eye much easier to leave.
Crisp edges
- The edge looks wobbly.
- Come up and go down just inside the outline, at the same distance every time. Your eye reads the edge, not the middle.
- I want a sharper edge still.
- Outline the shape with tiny split stitches first, then take each satin stitch just over that edge. It's optional, and lovely on bigger shapes.
- Round pupils come out square.
- Shorten the stitches as you near each end of the circle, and stop them a hair inside the line.
- A point or corner looks blunt.
- Make the stitches shorter as they reach the point, and bring the last one right into the tip.
Questions people ask
Why is my satin stitch bumpy and ridged?
Usually the strands are twisted, or stitches are overlapping instead of sitting side by side. Long stitches that sag cause ridges too. Untwist often, lay each stitch beside the last, and keep shapes small.
How do you keep satin stitch straight, not diagonal?
Start in the middle of the shape, so the first stitch sets the angle, and copy it outward. For a bigger shape, place a few guide stitches at the angle you want and fill between them.
Should I use 1 strand or 2 for satin stitch?
Two strands fill small shapes like eyes and noses quickly and match a 2-strand outline. One strand gives the smoothest finish but takes many more stitches.
How long can a satin stitch be?
Keep plain satin to about 3/8 to 1/2 inch across. Longer stitches loosen and catch. Split a bigger shape into sections, pad it, or use long and short stitch.
Why can I see fabric between my satin stitches?
The stitches are a little apart, or the strands have twisted into a thinner rope. Bring each one up right against the last and flatten the strands as you go.
Sources: Needle 'n Thread: 10 tips for a sensational satin stitch · Needle 'n Thread: Some notes on satin stitch · Royal School of Needlework Stitch Bank: Satin stitch · Stitch Your Dog pattern maker: its photo checks and its real output on our sample dogs (1 Nov 2026)