How-to guide
How to start embroidery without a knot
Use a loop start when you stitch with 2 strands: fold one long strand in half, thread both cut ends, come up from the back, and pass the needle through the little loop after your first stitch. For an odd number of strands, use a waste knot, which you cut off later. Both leave the back flat.
Should you tie a knot?
Most embroiderers don't, and it's worth learning not to from day one. A knot on the back makes a lump that pushes up through the front once the piece is pressed and framed. On light linen, a dark knot can show through as a shadow. And a knot can pop straight through the weave when you pull, leaving a loose tail.
Instead, you anchor the thread with a loop or with your first few stitches. It takes the same few seconds as tying a knot.
The loop start, step by step
- Pull out one strand, twice as long. For 2 strands, pull one strand out of the floss, about 36 inches long, so it folds to the usual 18.
- Fold it and thread both ends. Fold the strand in half and thread the two cut ends through the needle. The fold makes a small loop at the other end.
- Come up from the back. Bring the needle up where your first stitch starts. Stop pulling while the loop still hangs on the back, about an inch long.
- Make your first stitch. Take the needle down to finish the first stitch, as usual.
- Catch the loop. On the back, pass the needle through the hanging loop and pull gently until it closes flat against the fabric. The thread is anchored, with no knot at all.
- Carry on stitching. Keep going as normal. Turn the hoop over once to check: you should see the loop snug around the first stitch.
The loop start only works with an even number of strands, because one folded strand gives you two. It's the start our course teaches for its 2-strand lines, and the first thing you'll see in the free simulator.
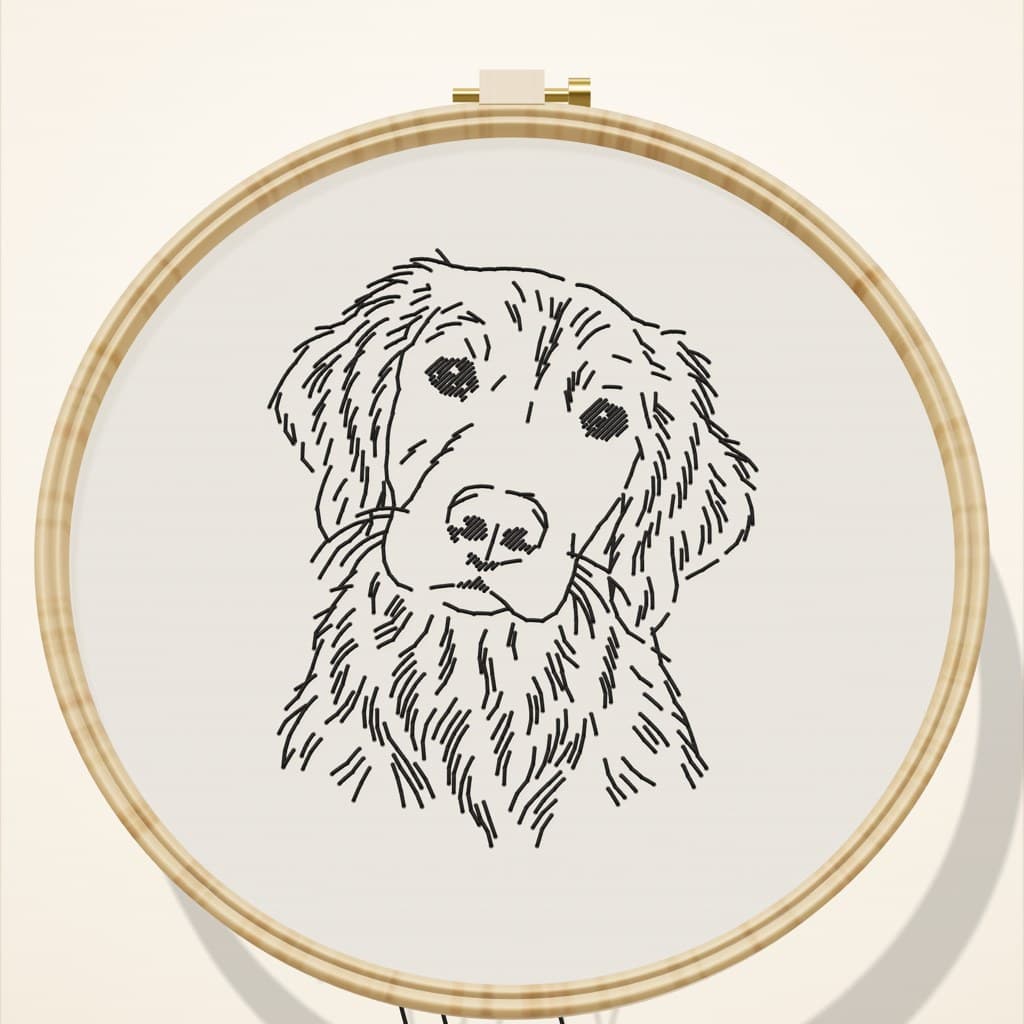
Free · 3D Stitch Simulator
Try the loop start on a 3D hoop
Watch the first stitches, then tap where your needle goes. Turn the hoop, zoom in, and flip it over to check the back.
The simulator's first lesson starts with a loop on the back. Flip the hoop to see your first stitch catch it.
The waste knot, for any number of strands
- Tie a knot in the end of your thread.
- Go down from the front about 2 inches from where you'll start, right in the path of the stitches you're about to make.
- Come up at your starting point and stitch toward the knot. Your stitches cover the tail on the back and lock it in place.
- When your stitching reaches the knot, snip it off on the front. The tail stays held by the stitches.
On light linen, keep the tail directly under the line you'll stitch, so the stitches hide it completely.
The away knot
An away knot also sits on the front, but well away from your stitching, outside the path of the line. When that thread is used up, cut the knot, pull the tail to the back, thread it on a needle and weave it under the backs of your stitches. Use it when there's no line for stitches to cover, like a single French knot or a short whisker.
Which start to use
Three ways to start without a knot
| Start | Use it when | On the back |
|---|---|---|
| Loop start | You stitch with 2 (or 4) strands | The flattest: just the loop around the first stitch |
| Waste knot | Any number of strands, with a line of stitches ahead to cover the tail | The tail locked under the first stitches |
| Away knot | Any number of strands, when there's nothing to cover the tail | The tail woven under stitches at the end |
Common mistakes
- The loop pulled through to the front.
- You pulled the thread all the way. Stop while the loop still hangs about an inch behind the fabric, then make your first stitch.
- The loop start won't work with 3 strands.
- It can't: folding always gives an even count. Use a waste knot or an away knot for an odd number of strands.
- The waste knot's tail shows through the front.
- Keep the tail directly under the stitches that will cover it, not off to one side.
- The first stitch came loose.
- The loop wasn't pulled snug. Catch it, then pull gently until it sits flat against the back.
Questions people ask
Should you tie a knot in embroidery?
It's best not to. Knots make lumps under the finished piece, can show through light fabric and can pull through the weave. A loop start or a waste knot anchors the thread just as well.
What is a loop start?
A knot-free start for an even number of strands. You fold one strand in half, thread both ends, and catch the loop on the back with your first stitch.
What is a waste knot?
A temporary knot on the front of the fabric, placed in the path of your stitches. The stitches lock the tail on the back, then you snip the knot off.
How do you start embroidery thread for beginners?
Cut floss about 18 inches long, separate 2 strands one at a time, and use a loop start. It's quick, and it gives you a flat, tidy back from the first stitch.
Sources: Needle 'n Thread: A clean start with two strands · Needle 'n Thread: Starting thread with a waste knot · Needle 'n Thread: Starting and traveling threads